Monday, March 5, 2012

Card share

Today I thought I would share with you all a little card I made recently.  I've been very interested in shadow and reverse stamping lately.  For whatever reason I have this weird thing where if I am stamping saying floral images I like some to face one way and others to face the other.  But that's kinda difficult with the stamp being made for one direction....... For whatever reason, I find the same image stamped multiply in the same direction weird and irritating, it's a personal quirk. I have tried the stamping on acetate version and I don't really like it, so in this card, I tried stamping directly onto an acrylic block.  The results were more to my liking but not as bold as the stamping directly from rubber to paper, so now I am on the hunt for some shadow stamp blocks.  When I find some, I will definitely be making a post about them.  In the same vein, these shadow stamps are also used to stamp a solid background, another thing I have been playing with.  I used both techniques in the card below and am very pleased with my outcome.


 Also because you may be curious about what I am talking about, here are some links:

This is using Tim Holtz Inks to create a distressed background.  I have Tim Holtz Inks, but I wil be experimenting with my Stampin' Up! Inks to see if it also works with them.


http://www.youtube.com/watch?v=aL7UMBUzVj4&list=FLnd9CK8AMsQOiRR5Jk5uzRQ&index=1&feature=plpp_video

The Reverse Image (or Mirror Image) Technique I was talking about:
http://www.youtube.com/watch?v=dxbiBFC_nIg

And the same technique using Acetate:
http://www.splitcoaststampers.com/resources/tutorials/reflection_technique/

Supplies:  Whipser White CS (Stampin' Up!); Crumb Cake Classic Ink, Chocolate chip Classic Ink, Elegant Eggplant Classic Ink (Stampin' Up!); Simply Soft Stamp Set (Stampin' Up!)

Saturday, March 3, 2012

A Mixed Media Cover

A while ago I went on a crop retreat with some of my good and dear crafty friends. As part of the retreat we thought it would be fun to have secret sisters. I made lots of cool stuff for my secret sister but the thing that I was really proud of was this:

It's a simple but jazzed up chipboard cover to a Cricut Material Cutting Guide and a Sizzix Sandwich Guide. The cover was fast and easy I haphazardly placed the tissue paper and crinkling it with mod podge. Once that dried I stamped the butterflies using acrylic paint. The Field Notes was stamped in StazOn over white acrylic paint. The brown paint splatters were created using a loaded brush and flinging it to the chipboard.

Supplies:  Tissue Paper from Gift packaging; chipboard; White and Brown Acrylic Paint, Butterfly (Unity Stamp Co); Field Notes (Tattered Angels); Corner Flourish (Fancy Pants);

Thursday, March 1, 2012

First Ever Project Made Entirely With the Same Company

I am normally not a crafter that sticks to one company when crafting.  I like variety and options.  However, recently, I have been trying my hand at sticking to entirely one company line.  This particular project, from start to finish is all one company Stampin' Up!  I recently got a new box of goodies from them (this is one of several of my favorite companies) and I wanted to to play with everything that I got.  So I did, and this is what I came up with:
One of the nice things about working with stuff entirely from the same company, everything coordinates.  This is especially the case for Stampin' Up!  All of their inks, cardstock, papers match exactly.  Although I am sure that I will always be a mix and matcher till I die, it was nice to be able to not have to work as hard to match things and find ways to match everything up.  Oh and that stamp set I used, I am absolutely in love with.  So yummy, it's a feminine masculine set which means, it'll be perfect for elegant man cards!

Supplies: Old Olive, Pumpkin Spice, Chocolate Chip (Cardstock); Neutrals Stack (Pattern Paper); Lattice Squares (Embossing Folder); Curly Cute, Nature Walk (Stamp Sets); Pumpkin Spice, Tempting Turquoise, Chocolate Chip, Basic Black (ink); Sketch (Card Positioning System)

Tuesday, February 28, 2012

Real Photo Box and Embossing Folder Storage

Storage is something that I always struggle with and am always looking for new and better ideas.  Recently, I decided that I needed a more reasonable way to store my Embossing folders, plates, and cutting related things.  I had been storing them in these awesome little photo thingys that I had altered.  However, creating the inserts for the folder to hold my embossing things was very time consuming and cumbersome.  And I do not have time for either of those words in the same sentence right now.  When I decided it was time for a storage change, it was really late at night, like super late, like 2 a.m. late.  Despite that, I came up with a super awesome, fast and easy way to store all my stuff.  I made a box using chipboard, my Bind-It-All, paper, and Ribbon.  And this is the finished product:

It fits nicely where I need it to, it holds everything that I have and is very easily expanded.  The coolest part is that I didn't have to purchase anything from it, and I finally used something from the DCWV Real Photo Paper Pack that my dear, sweet, and supportive husband insisted that I have so much he bought it for me despite my objections.  Sigh.  I hate to admit that he was right, and the stack does on occasion come in handy.  Sigh.  So how did I do it?

I took 3 pieces of 12x12 chipboard and cut them into 6x12 lengths, and glued two together.  I did that for each side that I needed.  Next, I adhered the paper to one side.  I then punched centered holes into all of the pieces on three sides.  One of the large pieces I punched centered holes on all 4 sides, this is the piece that goes on the bottom.  Last, I weaved ribbon through the holes in a criss cross manner to bind them together.  Start to finish this took me about 3 hours (I am a slow worker).

Sunday, February 26, 2012

My New Storage Love

Today, I thought that I would share with you my new found love for an awesome storage unit.  Really Useful Boxes.  Not only are they really useful boxes, but that's also their name, so fitting seriously.  Why you may ask. Well I have been looking for a more modular storage system in order to condense all the junk I have (and it's a lot) but still have it accessible and organized.  While scouring the internet, I ran across another blogpost (but can't remember where or find it now) in which the person was using these boxes. I immediately went to the hardware store here and got some.  And let me tell you they are fabulous.  Here are pictures of what I am storing and how it looks:

This is a 4L Really Useful box, as you can see, it will hold probably 6 of the large Martha Stewart Punches, and 9 of the small edger combo ones.
 This is another 4L Really Useful box, the same size as the one above.  And it will hold 17 of the EK success edgers nicely.  I don't have a whole box full at the moment, but when I do, the Fiskar ones will probably find a new home in another Really Useful box.
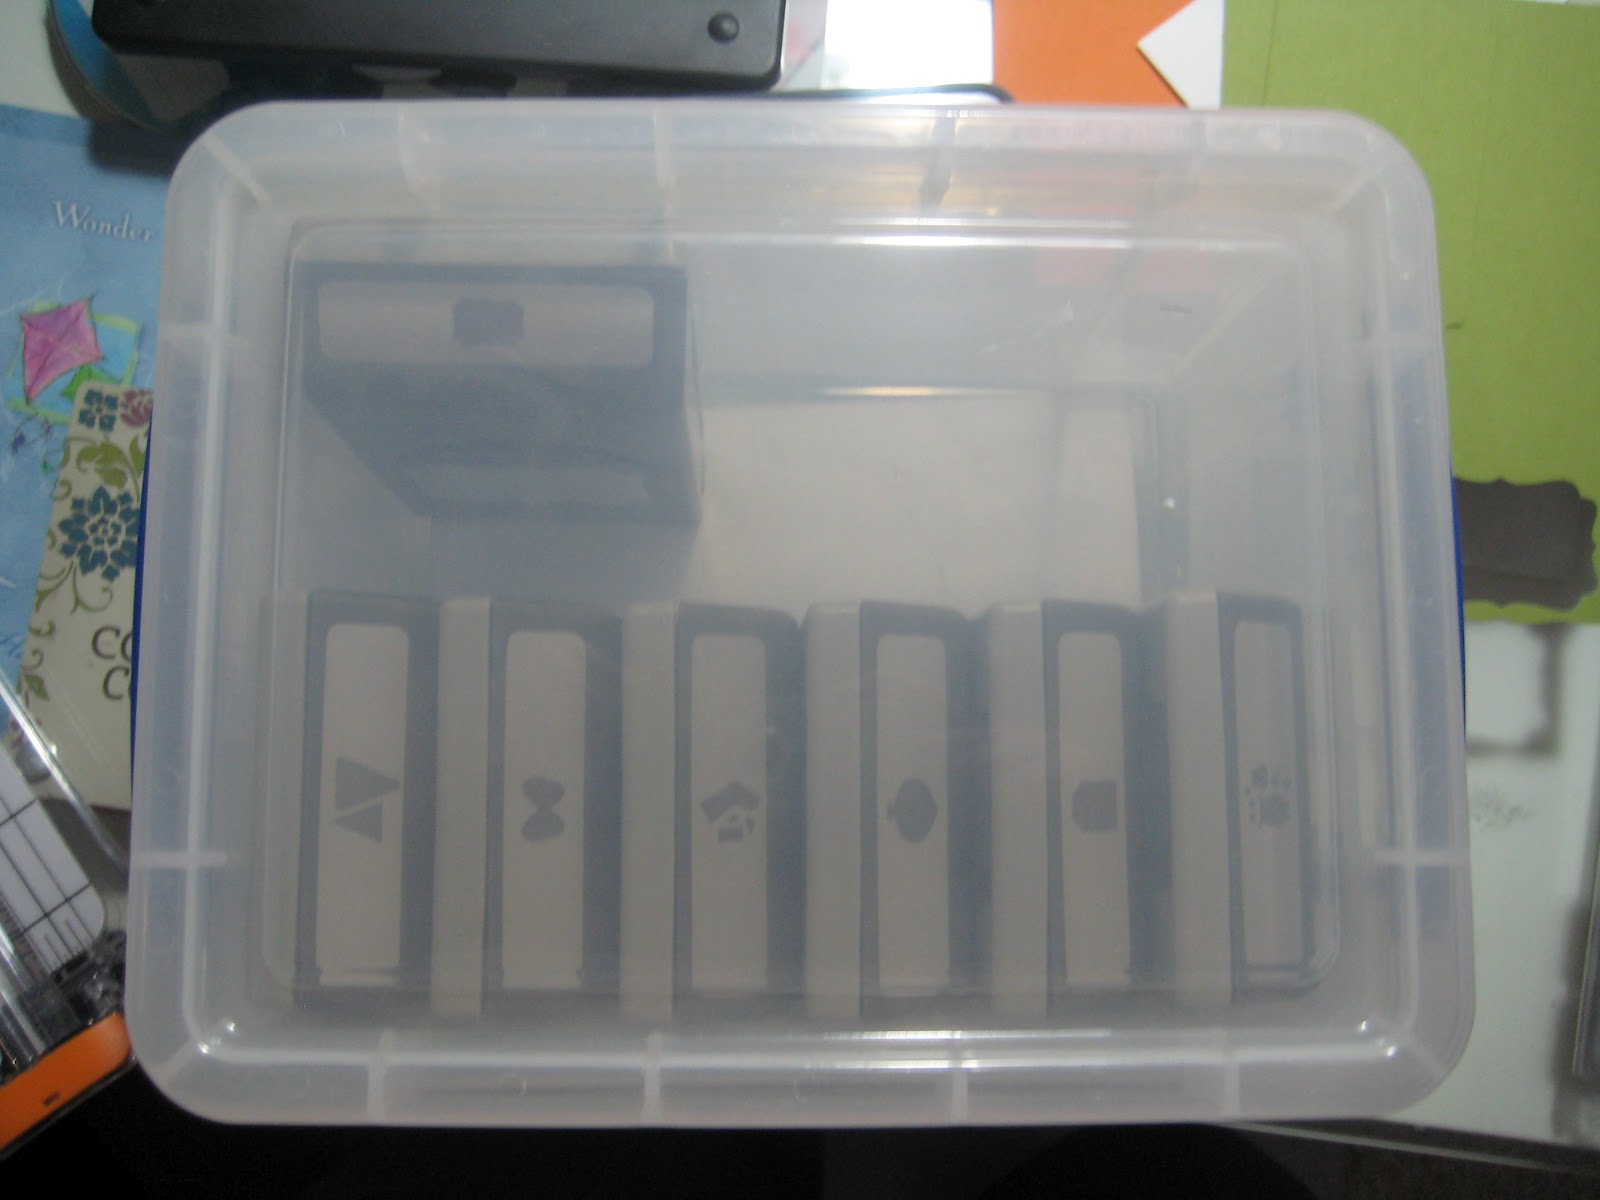
 This is a 5L box, it'll hold my guess 8-9 of the EK success deep edger punches.  There is about an inch or so gap between the top of the punches standing up and the top of the lid, it's a perfect fit.

 This is a 3L Really Useful Box, and it hold all my Stampin' Up! Large punches.  I have a few more spaces before it's full, and I am estimating that it'll hold about 10 of these same size punches. 
 This is an 8L Really Useful Box (they say it's for shoes) that I am storing my  Sizzix Dies in,  I currently have 5 of the Large Dies and some smaller ones.  This box is a perfect fit for the large square dies, and as you can see, can fit probably about 15 of them.
I am seriously in love with this company.  Their boxes are all made to fit together and stack, and their dimensions are perfect for many of my crafting items.  One of the things that was important for me was to have the perfect fit but to have my punches standing up, so I can easily see the punch image.  These boxes are also fairly reasonably priced not on sale.  I believe the 8L box cost about $8.99 before tax.  Another really nice feature is that the handles on these guys lock in place but are not difficult to unlock either.  Either way, if you're looking for more stackable and modular storage, this is definitely recommended by me.

Friday, February 24, 2012

MAS Recipe Swap and My Cards

I recently joined a Recipe Swap on my swapping site Mini Album Scraps.  This is a huge first for me, I normally don't do these or have any interest in them, but I figured, why not?  I'm a huge cooking fan, I love to cook, and use recipes, so it is important that the cards be functional.  Also, I am a very very messy cook, I do not have a single recipe that is still untouched by food things in my recipe box.  Because of this, I had to think very hard about how I was going to make a pretty card, but have a recipe that was:
1.  Large Enough to Read Easily
2.  Pretty and Functional

While trolling YouTube looking for ideas, I remembered seeing a tutorial over at Split Coast Stampers for a pocket type card - The Criss Cross Card.  And this is what I came up with:


I made my own pattern paper using one of my all time favorite stamp sets by Unity Stamp Co  in four different complimenting colors.  All the color of the papers that I choose to use were matched with those colors.  The one thing that I did do differently was that because I did not want to glue the edges together to make the pocket, I made gussets out of paper and put those on either side of the pocket so that the card could slide in and out nicely.  I did not have to go out and purchase anything special - score for me AND all 5 of these guys were put together in about 3 hours or so.  

I hope you enjoyed!

Supplies:  Bazzill (Cardstock); Stampin' Up! (Cardstock); Prima (Flowers); Bling (Stuiod 18); Stampin' Up! Basic Black, So Saffron, Baja Breeze, Cherry Cobbler, and Old Olive (Ink); Stampin' Up! Four Frames (Stamp); Unity Stamp Co (Stamps); Spellbinders Tab (Diecut); Stampin' Up! (Punch)

Tuesday, February 21, 2012

Mini (And Not So Mini) Albums for Beginners

Recently I have received a lot of questions about my mini albums and how to do them, so I thought I would share what I have learned in my brief explorings of the Mini Album World.

1.  Adhesive: Good Adhesive is very, very important in any endeavor, but more so in mini album making.  When I'm working on mini albums, I use two types of adhesive.
  • Liquid
    • I really love Scotch Quick Dry Adhesive.  It is a thick nonrunning liquid adhesive that dries entirely clear.  The best parts is that is fairly reasonable on price, a little goes a long way, and it isn't runny making it easier to use.  
    • I use this for the adhering of my papers, photos, embellishments.

  • Double Sided Tape
    • If you are making your own albums from scratch (meaning including the cover) you will absolutely need this.  I make my own albums including the covers from scratch.  I have found that using my adhesive gun, although works, does not work at all.  The papers will buckle from the chipboard and each other in mini albums.  I have not had this problem with double sided tape.  I recommend two different brands:
    • Redline
      • it is clear double sided extra strength adhesive with red plastic protectant on each side.  You have to cut the lengths you need and the red protectants will statically cling to EVERYTHING. 

    • Scor Tape
      • Also a clear double sided extra strength adhesive, you can ripe the length that you want rather than using scissors.  It is easier to find, and cheaper.  Also the protectant lining doesn't stick to anything other than the tape until you are ready. 

2.  Tools: There are a few simple tools that you will need and can use over and over again
  • Crop-a-Dile
  • Big Bite
I use the Crop-a-Dile and the Big bit often particularly when working on my covers.  
  • Ruler with Metric Sizing
3.  Basic Materials:  There are a few material types that I ALWAYS keep on hand when I am inspired to make a mini album
  • Chipboard:  I purchase packages of chipboard in 8.5x11 and 12x12.  However, I also save all of my cereal boxes - two pieces of cereal box placed together will create the same thickness as one piece of chipboard.
  • Coordinating Pattern Paper: Even if I use odds and ends on the insides of my album, I always make sure to have two sheets of every piece of pattern paper that I purchase for the making of the covers
  • Distress Ink:  You absolutely need to have some distress ink in basic colors - Light brown, Brown, and Black.  You will use them to ink the edges of everything and definitely are worth it.
  • Binder Rings
  • Cardstock
If you have any questions, please feel free to email me. If there is anything that I have left out that you have questions about, please contact me!  Enjoy your endeavors into Mini Book making!